The Village Guide – Creating a Village
A step-by-step guide to creating a Village
We need to know two things before we begin Village Creation
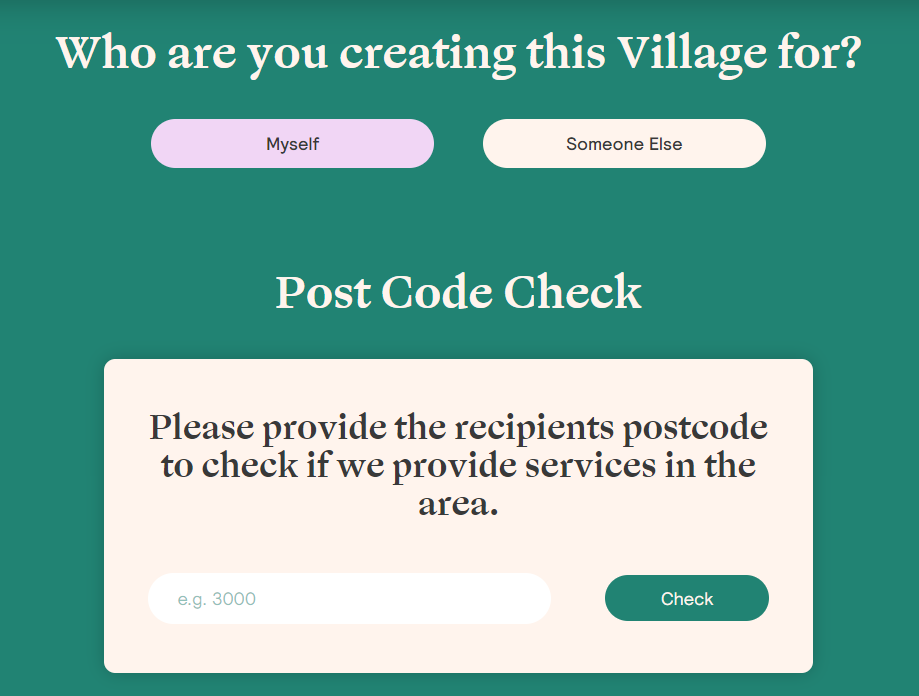
1. Who is it for?
• Are you creating a Village for yourself, perhaps because you are having a baby soon and would prefer a supportive group gift option rather than a pile of presents?
• Are you creating a Village for someone else because you know they are going to need some extra help in the near future and this solution allows them to choose exactly what they need, when they need it? With the added benefit that you can share the Village link with mutual friends to increase the value of the support.
2. The recipient’s postcode.
Our priority is ensuring a wide breadth of services for our Villagers. If we can’t offer more than 5 services to a postcode then we can’t offer It Takes a Village there yet. We are working every day to grow our Village Supplier network and we have a supplier recommendation form – if you know of any businesses who may like to join us, please fill it in!
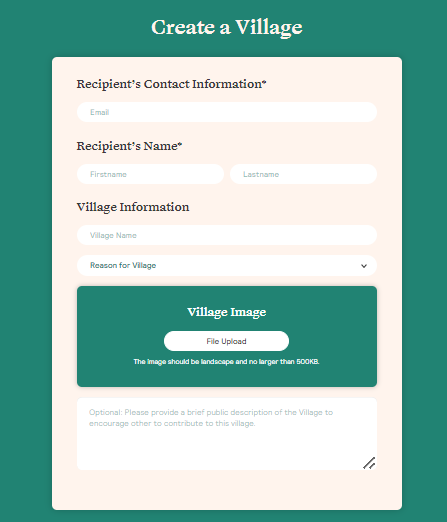
Next, it’s time to personalise the Village you are creating

We only need a couple of key bits of information about the recipient to ensure we can deliver the Village and then you can:
1) Name the Village – for example “The Smith Family Village”
2) Add the reason for Village – This is not shown anywhere publicly but rather used to guide us in our conversations with Suppliers. It helps us find the right support services to support your family and friends
3) Add a photograph of the family or recipient
4) Write a brief summary of the situation
We do this so you can easily share the Village with friends and family and they have a simple way to help. All the information that is entered is able to be edited by the recipient once they receive their Village.
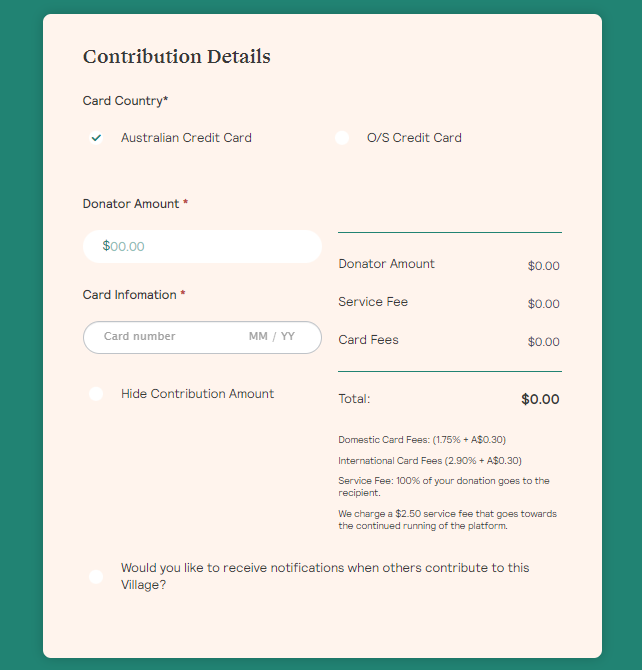
Add a few details of your own
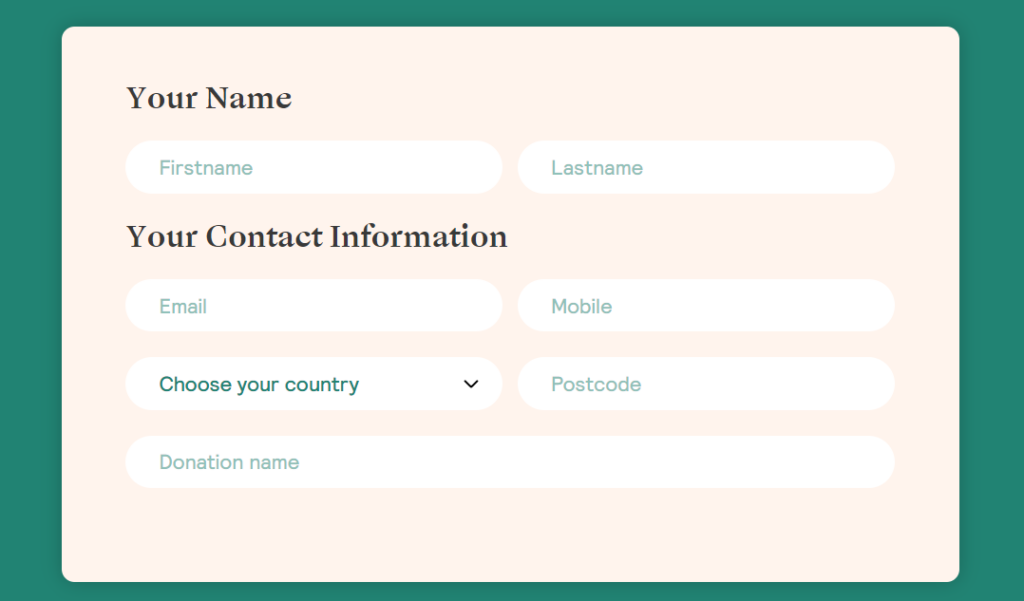
You can name your contribution here if you would like to add your family name, or a company name, or a kindergarten or school class that you would like your contribution attributed to.
And finalise payment and delivery information
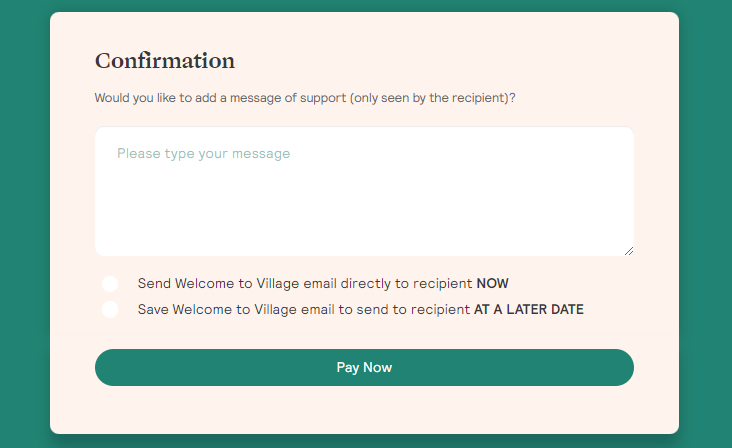
As the organiser of this Village you have a choice if you would like to send the Village off immediately to the recipient, or send it at a later date:
1. If you choose to SEND IT NOW, the recipient will receive a Villager Welcome email letting them know you have set up a Village for them, a brief summary of It Takes a Village, login details and a link to the user guide. You can still share their Village link with friends and family to contribute at any stage. A Village never closes (unless it’s closed by the recipient) and never expires. You can return to it in the future if the challenge the recipient is facing requires longer term support.
2. If you choose to SEND IT AT A LATER DATE, you will be able to login to the platform to send it on when you are ready. With this selection, you also have the option to create a PDF gift voucher that can be printed and/or sent with the Village Welcome email. You may like to choose this option if you are waiting for a few more people to contribute (for example a baby shower) or if you are creating a corporate Village. Or you just like creating PDF gift vouchers..
No individual contribution amounts are share publicly. The total Village balance only appears on a Village public page once three people have contributed so there is no obvious amount attributed to individuals. You can also choose to hide your contribution amount from the recipient. The amount will be replaced with a love-heart symbol in the recipient’s contributor history.
Success! You have done a very lovely thing!
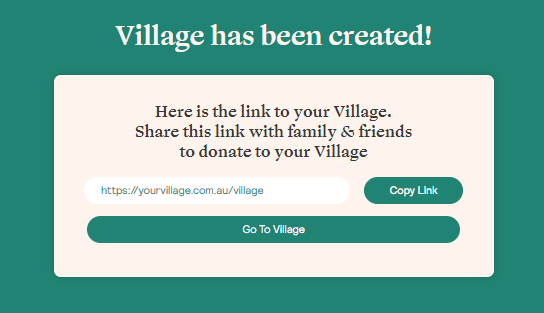
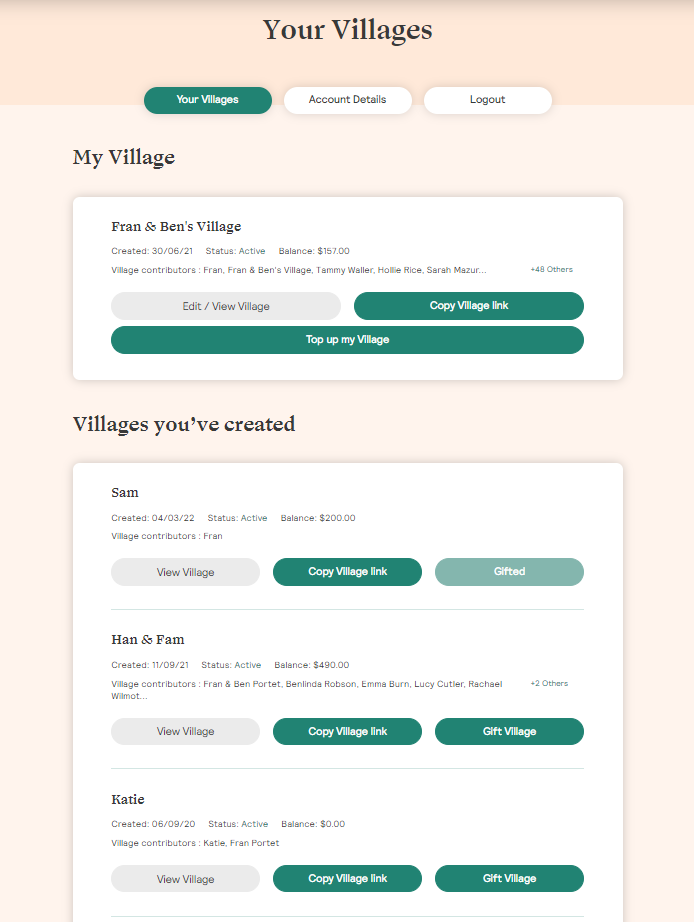
Your Village dashboard
This is where you can manage your own Village if you have one, or any of the Villages you have created. You can follow through the steps to ‘gift’ that Village to the recipient whenever you are ready.